7 Steps to Removing a Load-Bearing Wall to Create an Open Living Space.
Sam Tidwell, CEO, Good Morning Remodel


Trends in home building are everchanging, meaning home builders 30 or 40 years ago may not have been considering an open concept when designing your home. In the 1950s, the first open variation of open concept became popular, yet it only joined the living and dining space, keeping the kitchen separated entirely. It was not until the 1990s that we began to see open concept design plans that resemble what we see today. However, even homes built in more recent years may be configured in a way that does not create the open space that you are wishing for. In curating your vision for transforming your home into a more open space, you may find yourself considering removing some walls. Before undergoing a project of that caliber however, it is important to properly plan and understand the structural implications. At Good Morning Remodel we have been taking out load bearing walls for our clients for years. We have undergone all the proper training and mastered the necessary knowledge as well as retained the proper licensing and insurances.
This is a quick step by step guide for anyone who is interested in removing load bearing walls.
Step 1: Assessing the Situation
- Identifying load-bearing walls: It is not always apparent which walls are load bearing and which are not. Having a professional Structural Engineer or a Professional Builder is always a good place to start.
- Referring to the original drawing or blueprints for the house, if they are available, would be another way to determine which walls are load bearing and which are not.
- It is imperative that you seek the guidance of a professional whenever you are considering removing a wall. Construction practices have changed over the years and sometimes a wall can appear to be non-load bearing when in actuality, it is!
- This first step is generally the step where a homeowner would gather quotes from qualified contractors to complete the work.
- A qualified contractor would have the team and resources to hire a structural engineer to write the letter of recommendation or draw the plans needed and complete the work.
- Our first step is to estimate the cost of the project and then to bring in an engineer to run the load calculations and then write a letter of recommendation.
Step 2: Obtain Necessary Permits and Documentation
- The next step is obtaining a Letter of Recommendation from a certified and licensed Structural Engineer.
- Once we have the Letter of Recommendation, we can apply for our building permit.
- As a homeowner, you can contact the local building department and dig into the permit process, or you can hire out a professional to do this for you.
- As a homeowner in most states, you are allowed to pull one permit for your own house every 2 years. You do not necessarily have to hire a Contractor to obtain this.
- The permitting process is mostly the same for all the different municipalities but can be a bit difficult to navigate the first time around.
Step 3: Gather Tools and Materials
- When we are hired to remove a wall and install a beam, we usually order the beam required by the Engineer. These are typically too long to pick up and bring in the back of a pickup truck.
- When ordering the beam, it is convenient to go ahead and order all of the 2x4s that will be used for the shoring and temporary walls, the bolts used to secure multi-ply LVL together and any other miscellaneous materials for the project.
- Beams specified by the Engineer could be LVL (Laminated Veneer Lumber), GluLam (Engineered, laminated, wood beam), steel beams, or standard nominal lumber.
- Once the materials are delivered, it’s time to get out the tools. This typically will consist of a circular saw, reciprocating saw, nail guns, compressor, demolition tools and standard carpenters hand tools, drills or impact drivers, but some other tools may be needed in specific situations.
- Safety equipment: It is extremely important to use safety goggles, gloves, and dust masks when removing any of the existing wall in preparation of the beam installation and in the reinstallation process.
Step 4: Prepare the Workspace
- Clearing the area: Remove all furniture and belongings from the work area.
- At Good Morning Remodel, we use Ram Board (heavy construction paper to protect the floors from falling tools or materials) and plastic with painters’ tape to encapsulate the work area so that the fine dust doesn’t travel to other parts of the house.
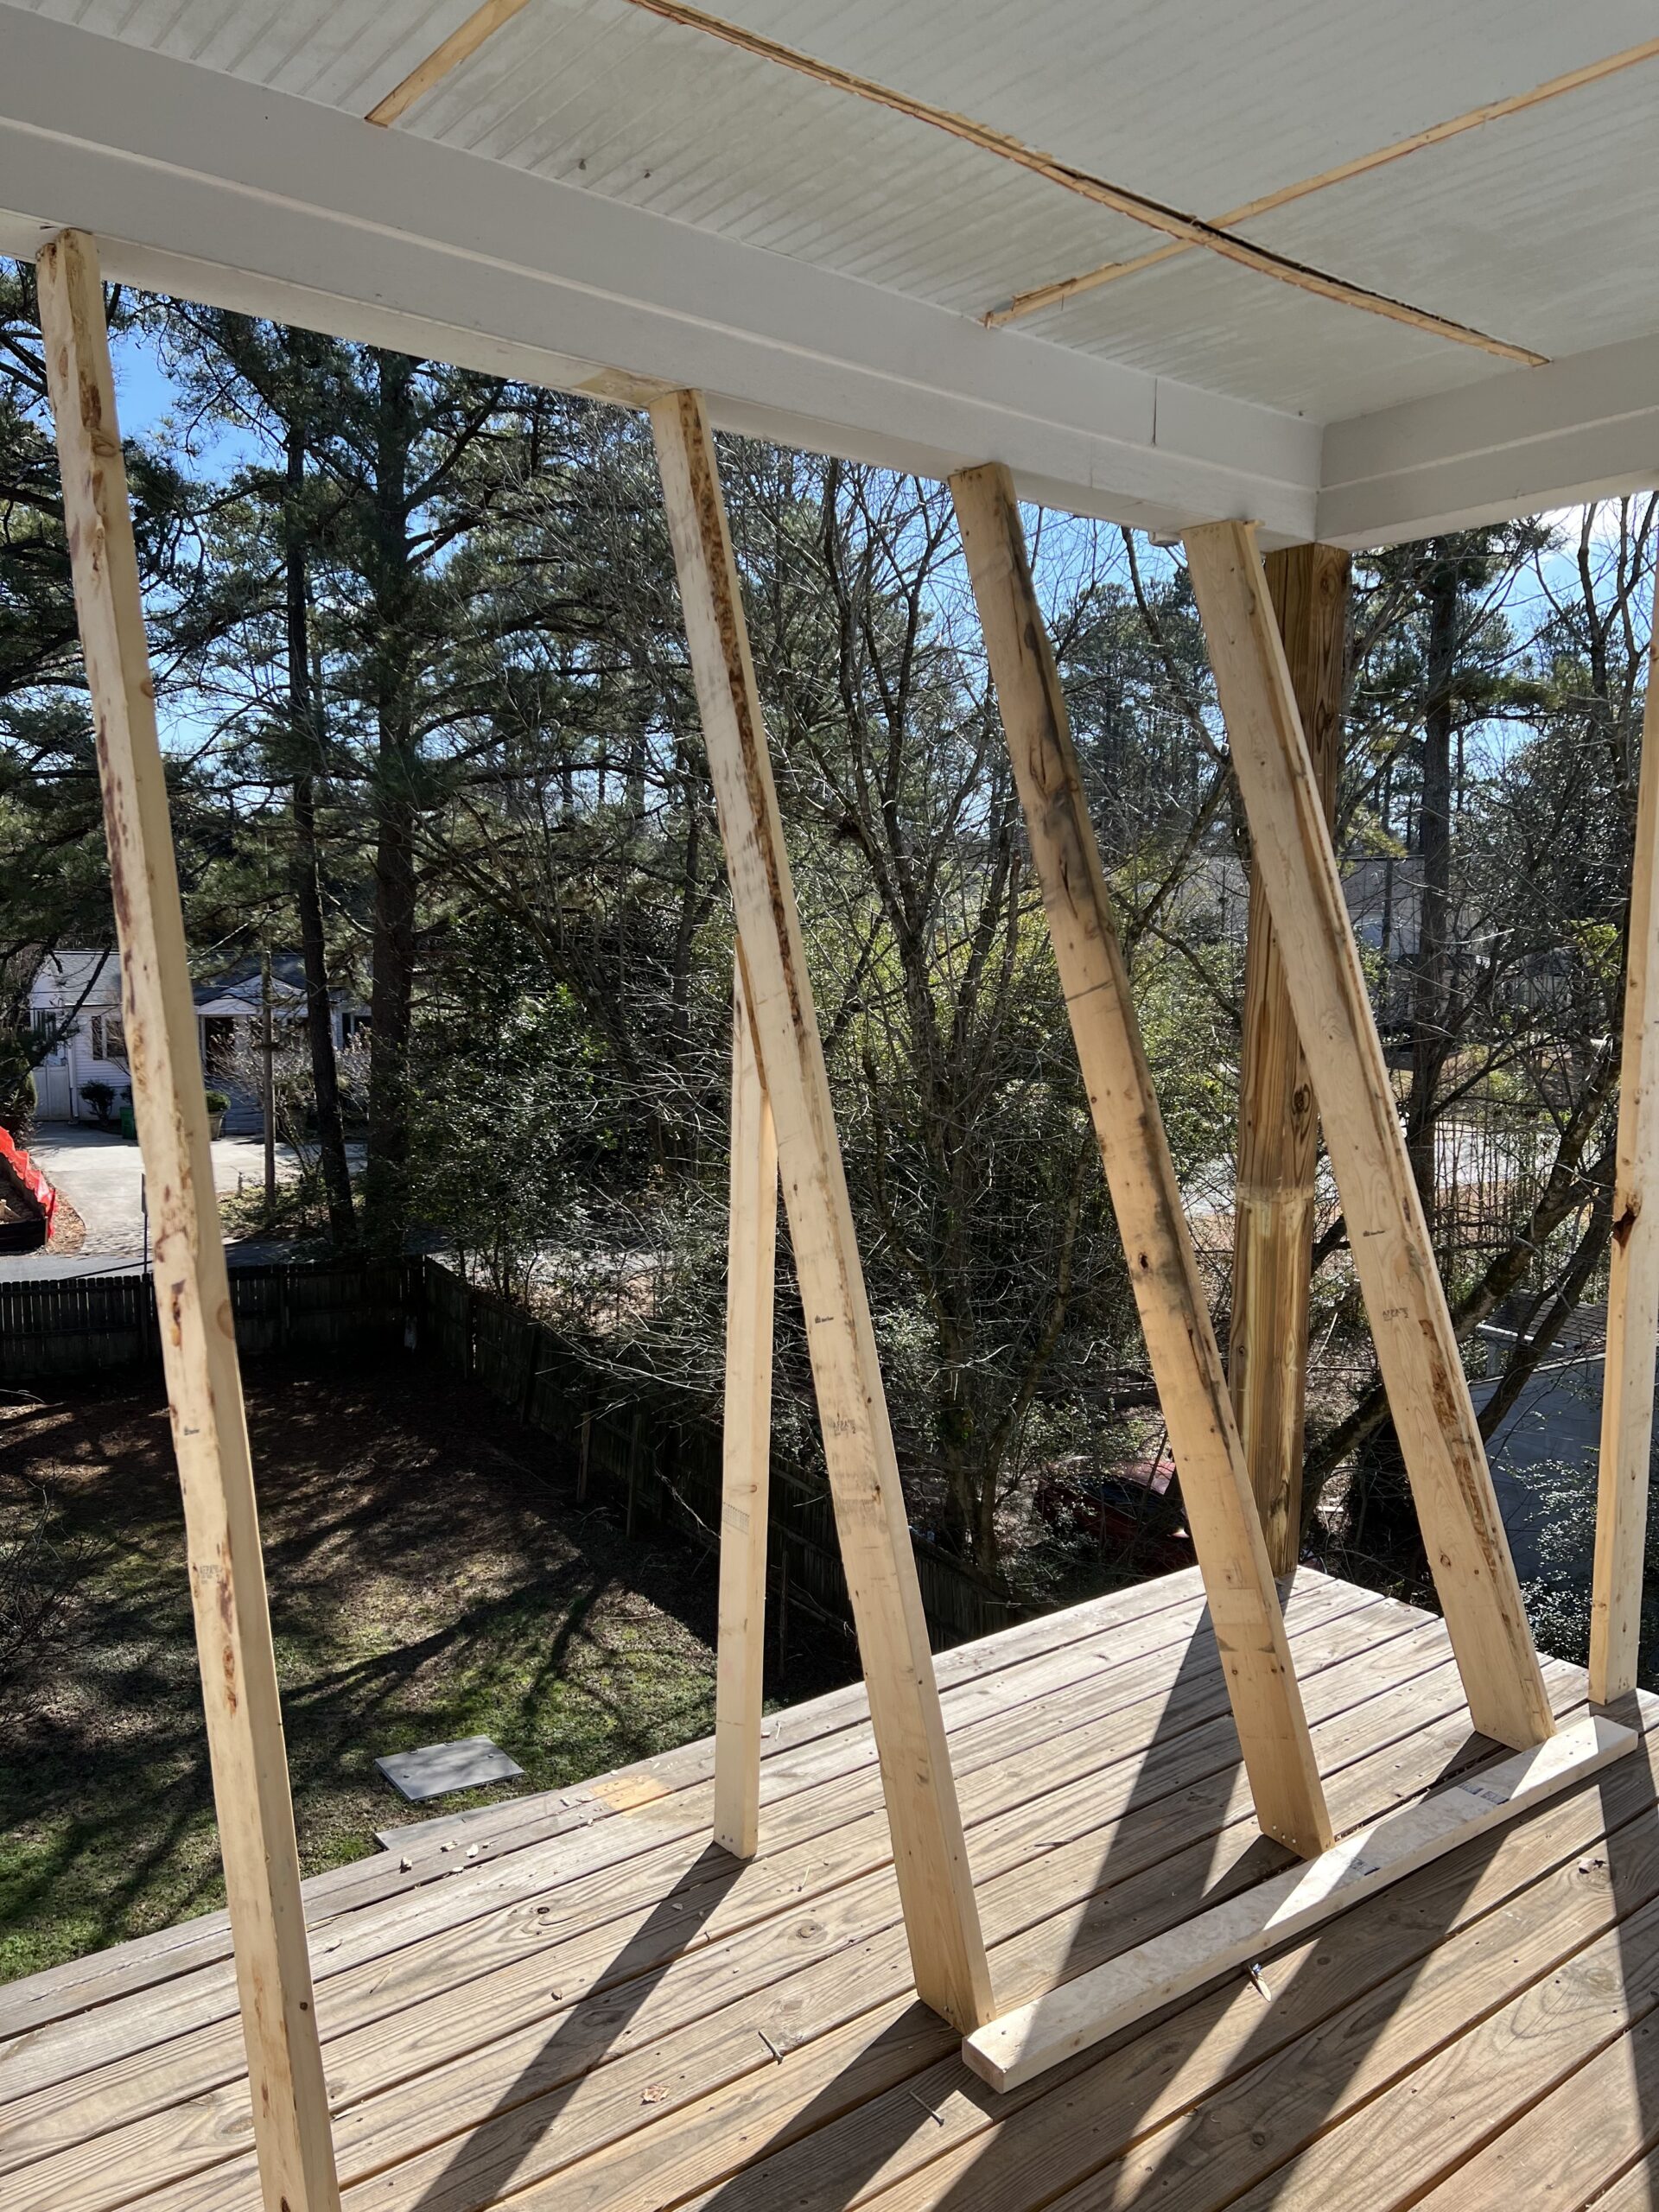
- It is crucial to install temporary walls or supports to ensure stability during the construction process. This can be a quick process, or it can turn quite lengthy depending on the complexity of the walls being removed.
- The temporary walls need to be placed in such a way that allows the new beam to be installed, including all of the necessary bolts and joist hangers, as well as transferring the load from above to below in a manner that won’t cause damage or harm to the home or the people in the home.
Step 5: Removal of Load-Bearing Wall
- Once the temporary walls have been built and are in place, it is time to start demolishing the existing wall.
- We start by removing the drywall on the ceiling and wall so that we can see the framing and any mechanical elements that might be in the wall.
- If you have plumbing or HVAC in this wall, these should be moved before the electrical. HVAC and plumbing are generally harder to move around because they are not as flexible as a wire.
- You should have a licensed Plumber or HVAC technician move any of these mechanicals.
- Typically, there will be an electrical receptacle and a switch or two in any given wall. It is important to have a licensed Electrician reroute the electrical as needed.
- Once the mechanicals are out of the way you can start on the removal of the framing. This is usually done with saws and sledgehammers.
- This part of the project should not be taken lightly. We will usually take out studs slowly and carefully to make sure everything is staying where it should. In a lot of situations, you are working over a finished floor and cannot necessarily screw or nail your temporary wall to the flooring, taking care of the existing finishes leads to a much better finished product.
Step 6: Installing a Load-Bearing Beam
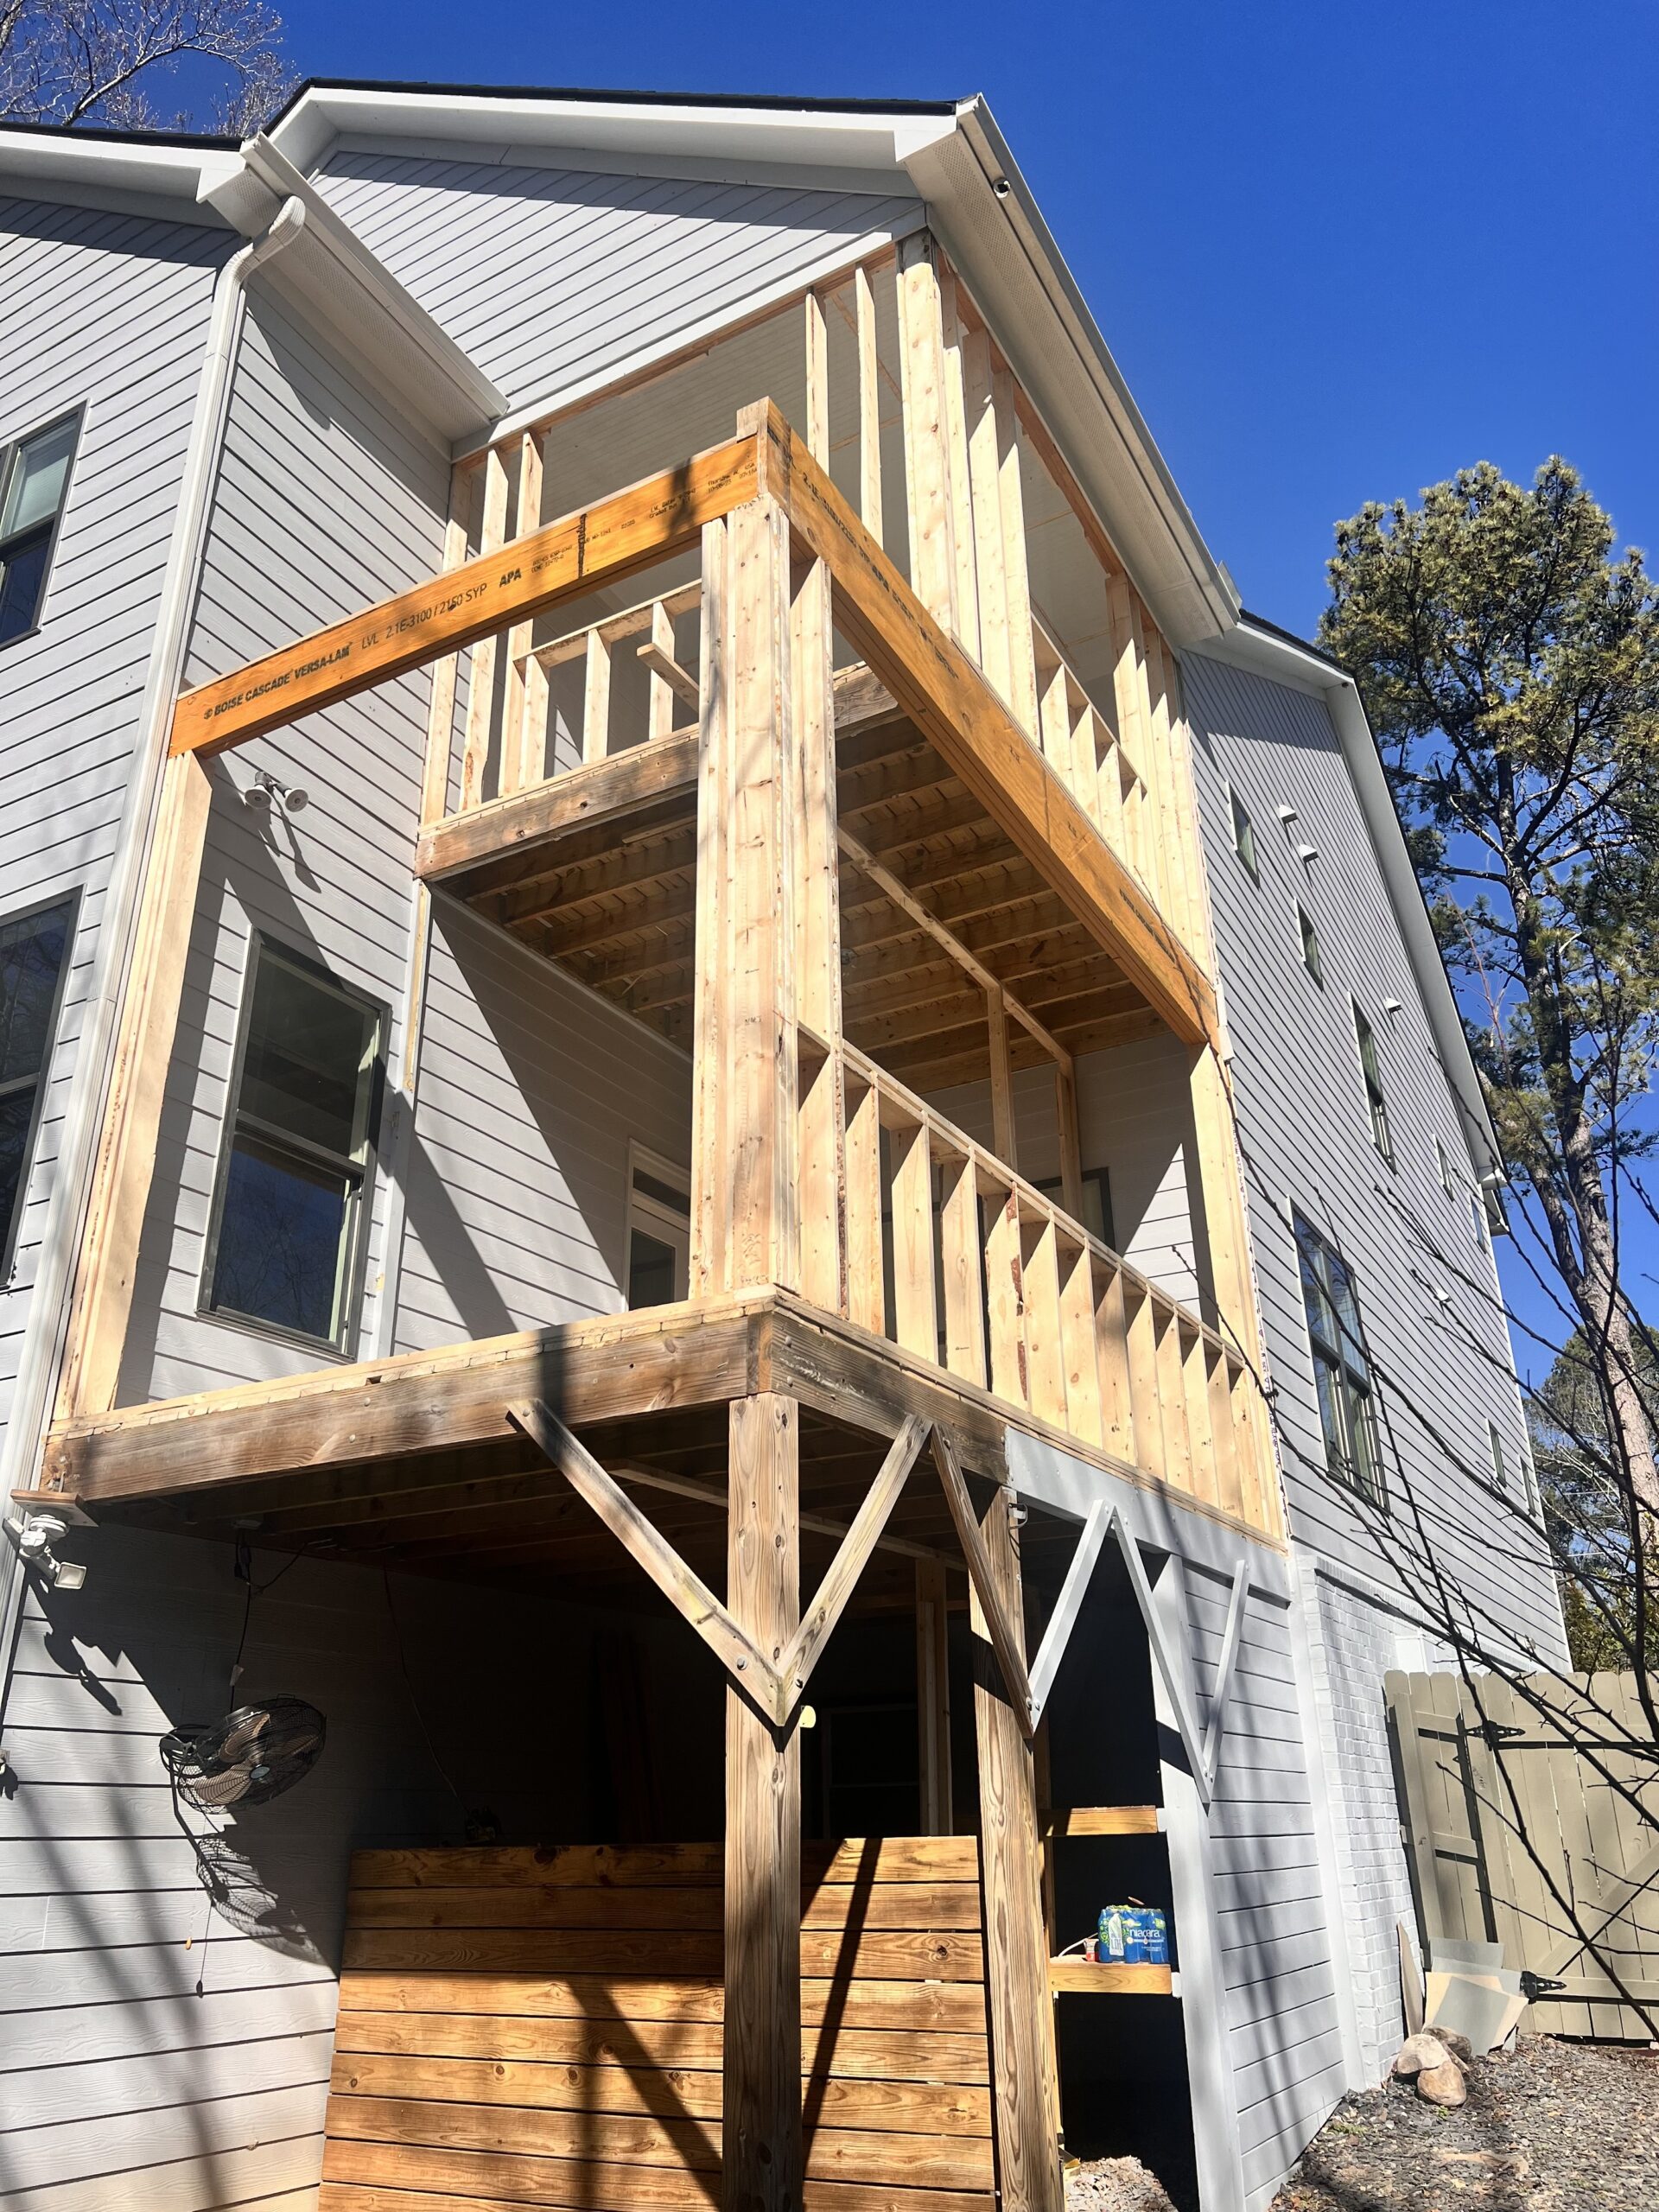
- At this point in the process, we should have our Engineers’ specifications that determined the correct size of beam to install. Sometimes this means a 16-inch-tall beam, sometimes it means a 24-inch-tall beam. When height restrictions come into play the Engineer may have designed the beam to be shorter and triple or quadruple ply.
- Usually, the desired outcome of a beam is to be recessed into the ceiling as to not protrude through the ceiling. It is important to set the beam in such a way that doesn’t leave a bump once the drywall is installed.
- At Good Morning Remodel, we usually have 2 or 3 carpenters on a crew to lift this beam into place by hand. Sometimes if the beam is too heavy, machinery will need to be used.
- If the beam is too heavy to lift with 2 or 3 carpenters, it stands to reason to increase the number of ply’s and reduce the size of each into a more manageable size and weight.
- Before lifting the beam into place, you should have some jack studs and king studs ready to install to hold up the beam while it is fastened into place. Some installers like to use ratchet straps, spreaders, or jacks.
- Consider adding support studs during the installation. This is another safety precaution that can be helpful while the jacks and kings are being installed.
Step 7: Finishing Touches
- Install all mechanicals as needed for the project. All the mechanicals need to be in place for insulation and drywall.
- Typically, once the beam is in place, and before the temporary walls come out, you will need to add joist hangers to the floor or ceiling joists that were just modified by the beam installation.
- Next, install insulation if needed. Make sure the insulation meets current energy standards.
- Once mechanicals and insulation are in place you can install the drywall as needed to cover any framing for the project.
- After the drywall is hung and finished, the next step is to fix the floor where the old wall used to be.
- Finally, you can add trim and paint to all the walls effected by the project.
Note: This outline is a general guide, and the specific steps may vary based on the unique characteristics of the building and local building codes. Always consult with a qualified professional before undertaking any structural modifications.

